Showing posts with label Stain. Show all posts

Monday, July 1, 2013

Meg vs. The Dining Room: Chair Makeover

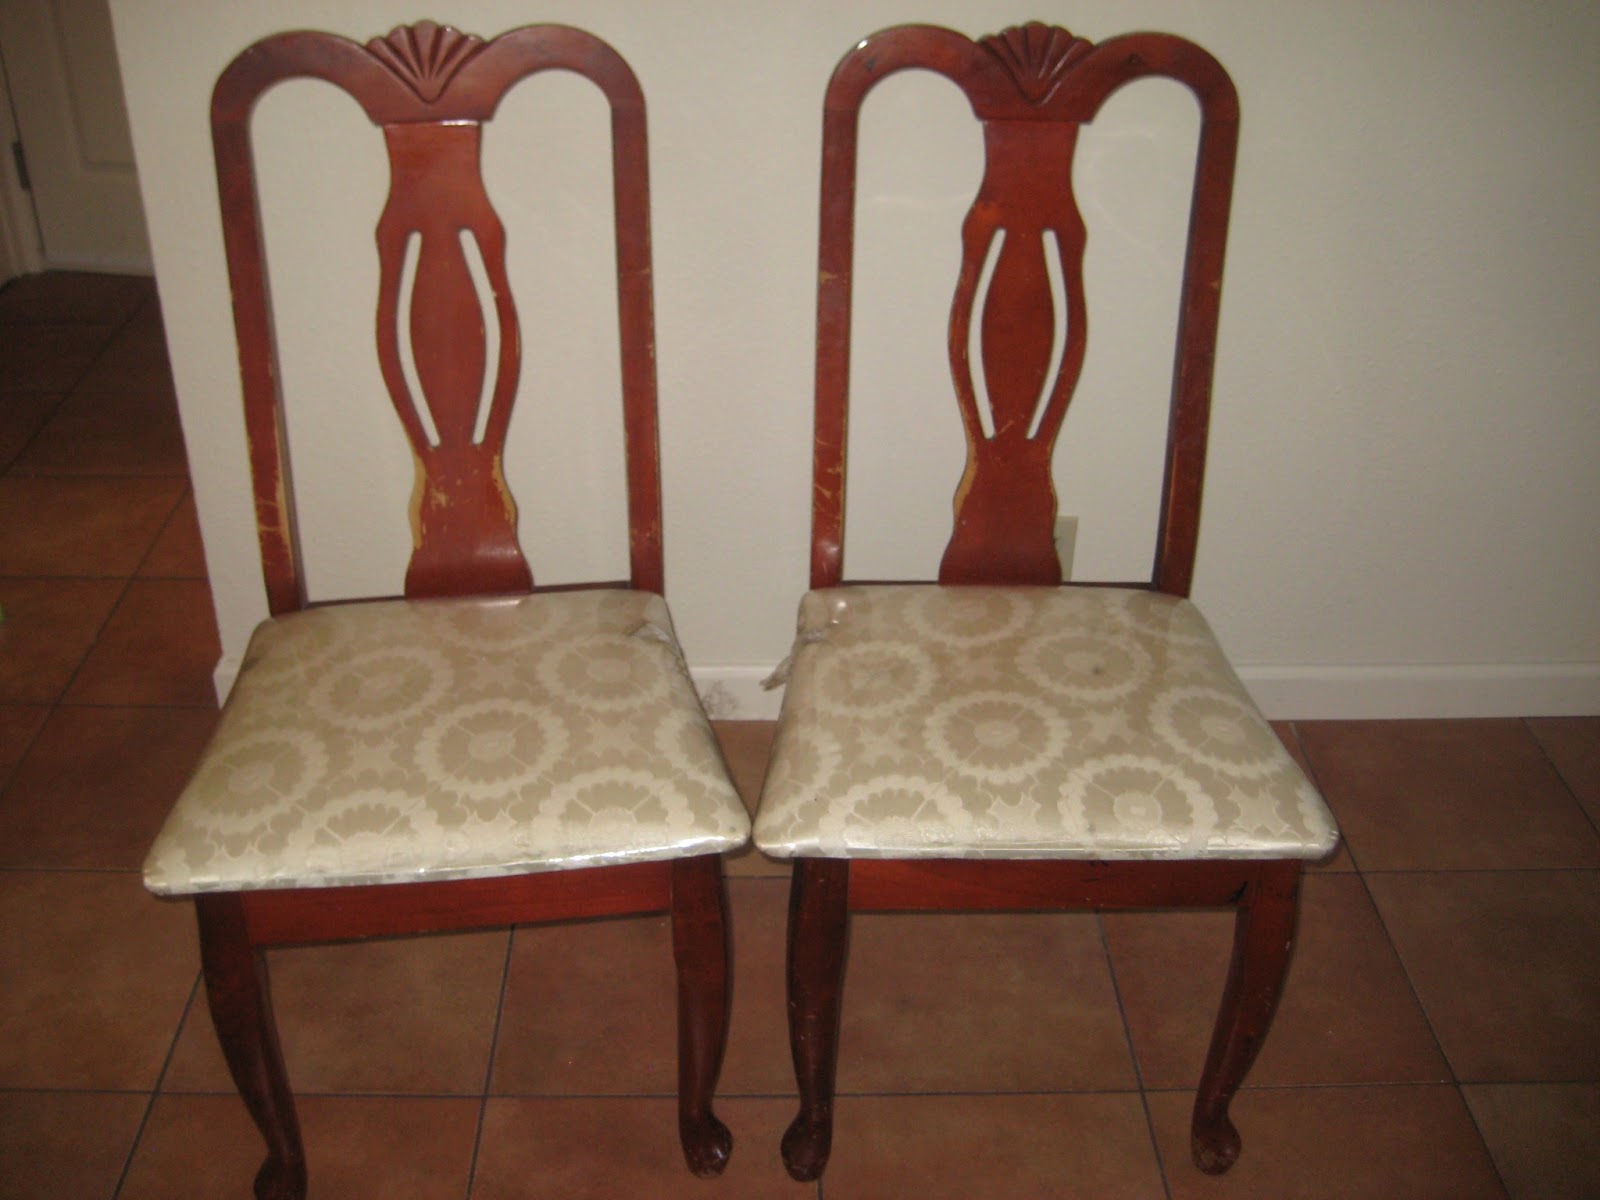
A while back my mom spotted these two chairs that had been abandoned in the parking lot of my sister's apartment complex. In that corner of the lot, there is a "No Dumping" sign, so of course everyone dumps their old furniture there.


They weren't the most stylish chairs to begin with, plus the seat cushions were fairly beaten up and there were several places where the finish had worn off. So my mom and I pulled off the seats and got to work staining them. We didn't have enough time to do gel stain like I used on the bathroom vanity and the bed, so after seeing this tutorial I decided to try out Minwax Polyshades. This lady uses this stuff on everything, with good results.
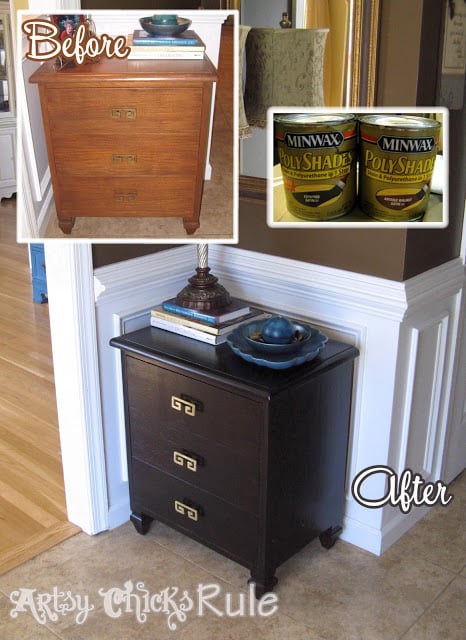

Like the General Finishes gel stain, Polyshades only requires minimal sanding, but unlike the gel stain it doesn't require a separate topcoat, so it really is convenient if you have a quick project. I have to say that I like the results of the gel stain a lot better--it is so much easier to apply (wipes on with a sock), while Polyshades is brushed on, and it is thin so it is very drippy if you're not really careful (particulalry on the details of these chairs). It also wouldn't dry in my mom's garage for over a day when it was kind of foggy out, so we had to put a space heater in there to get them to dry. Overall, I would recommend this product if you don't have time to do a gel stain + gel topcoat (which totals nearly 2 weeks of dry time in between coats), or if you are only going to do one piece of furniture and don't want to buy two different products.

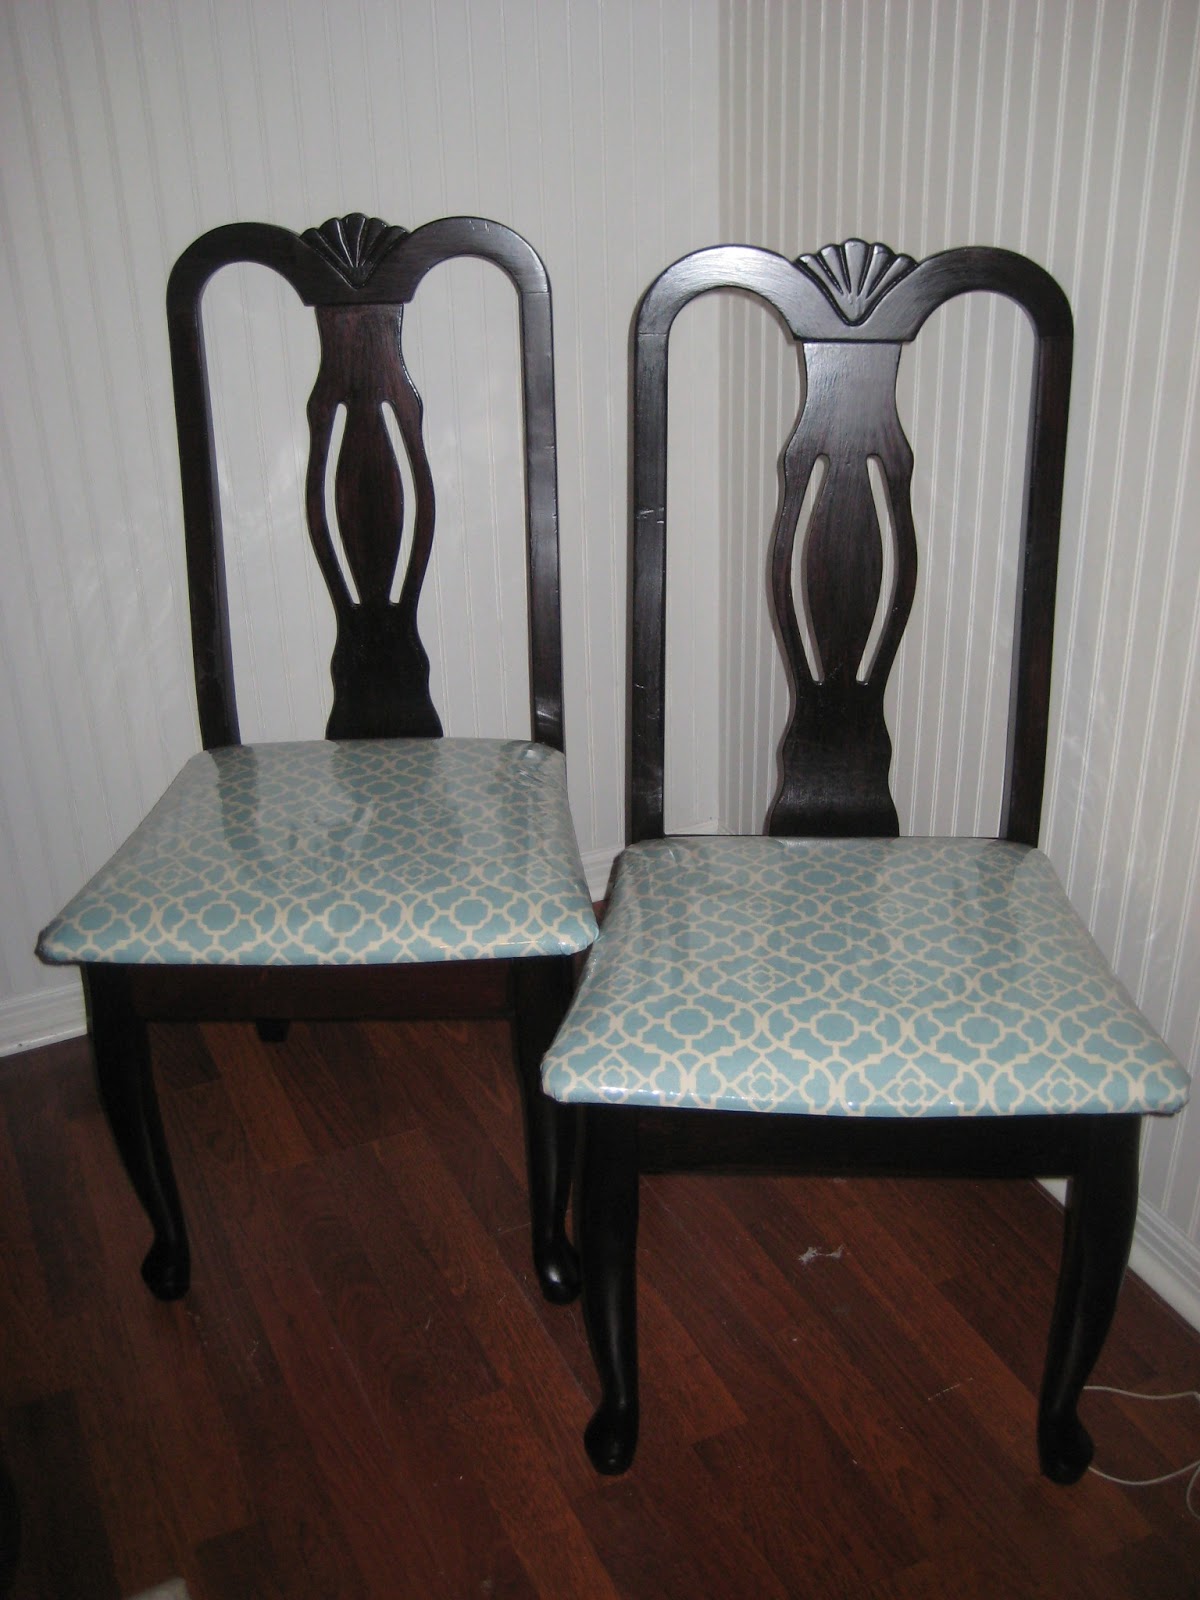
I re-covered the chair seats with the same fabric I used for my entryway bench, and clear vinyl over that to make them easy to clean. I didn't take pictures of the process, but there are plenty of tutorials on Pinterest. It basically boils down to pulling the fabric over the seat and using a staple gun to secure it on the back.

Here they are all finished! Hopefully our renters will appreciate how much better they look.

And wanna see something kind of eerie? My mom recently saw this post on Pinterest. At first glance we both thought someone had gotten a hold of a picture of my chairs. 


I suppose great minds think alike!

Saturday, June 15, 2013

Meg vs. the Bed: Refinishing done!


Three coats of finish and two layers of topcoat later, here she is. It is nice to have one project checked off. Now I just need to get the room done so I can put the bed together and see the whole thing! Also, you can see the back of the wardrobe I picked up today (a Craigslist purchase) with a great deal of help from my siblings--my sister babysat and my brother did the heavy lifting (and was mostly my bodyguard going to a strange house in Oakland. Turned out it was a small-ish middle-eastern lady, but you never know). The wardrobe will go in that room as well, and my mom is staining my old desk and bookshelf to match all of this so it will all go together. Now I just need to hunt down one more wardrobe for the second bedroom and all the furniture will be ready!

Thursday, June 6, 2013

Meg vs. Renters: Staining a new bed.

We found renters! I have been so consumed in finding a place/finding renters/creating leases/getting the house ready that I haven't taken time to post my goings-on, but I will try to catch up a bit, since I really have been chipping away at the projects.

Anyhow, we are going to be renting the house out to three students. We realized that to compete with the rest of the housing market for local students, we need to leave the house furnished. So I have been on a Freecycle kick finding the additional things we will need to turn our little boy/baby rooms into grad student rooms. And once we move, I will be on a new Freecycle kick trying to replace everything we left behind.

I got a full-size bed for the front bedroom that has storage in the headboard and underneath, which is perfect because then I don't have to buy a separate dresser! It was a light honey maple color and pretty worn, but I was planning on leaving it as-is because, well, I didn't really have time or space to do anything about it. Then John reminded me how much better it could look if I stained it the same color as the bathroom vanity, and said that if we put that old bed in the room after re-doing all of the walls and making it look nice, it would "automatically date it ten years." So...I ordered a bigger can of stain from Amazon. Last night I put on the first coat:


And tonight the second coat:


It really does look so much better, and I think it will be a really beautiful piece of furniture, so I'm glad John talked some sense into me, even if it means I won't sleep for a few nights...

I used General Finishes Java Gel Stain (disclaimer: that is an affiliate link), and am following this tutorial from Monica Wants It, just like I did for the bathroom vanity. I love this stuff! Only a very light sanding required before you get to slap that stuff on. Just the way I like a project! Now I just need to get the room done so I can put the bed inside! It is still looking pretty scary in there, and I have less than 3 weeks to moving day. Wish me luck!


Friday, March 1, 2013

Meg vs. The Bathroom: First coat of gel stain, done!

I finally bit the bullet and slapped a coat of gel stain on that stinkin' vanity. I put the baby in his doorway bouncer, and asked Big Brother to entertain him. Baby screamed for the last five minutes. I guess it was worth it... I am excited about how it will look with two more coats!

Here is a before picture of the side of the vanity. Either the finish bubbled, or the rats in the garage had their way with it... either way, boo! I was afraid we would have to fork out for a replacement.


Here it is after the first coat. It looks worse in the picture than in real life because of the flash, but I think after the rest of the coats it won't be so noticeable.


And this natural light picture gives a better idea of the color it should be when it is all done.


Here's the color palette for the bathroom. Yay! We really are so close to being done, if I could just get my act together!

I am planning on a second coat tomorrow, a third on Monday, and then topcoat at the end of next week, and that should do the trick! More pictures to come. I am generally following this tutorial on staining cabinets with General Finishes Gel Stain.