Showing posts with label Furniture Makeover. Show all posts

Monday, July 8, 2013

Meg vs. The Couch: My newest project.

What is under this sheet in our new living room?


John's grandmother's old couch! It is just the right color of gold to clash with the walls. Ideas are in the works...


Monday, July 1, 2013

Meg vs. The Dining Room: Chair Makeover

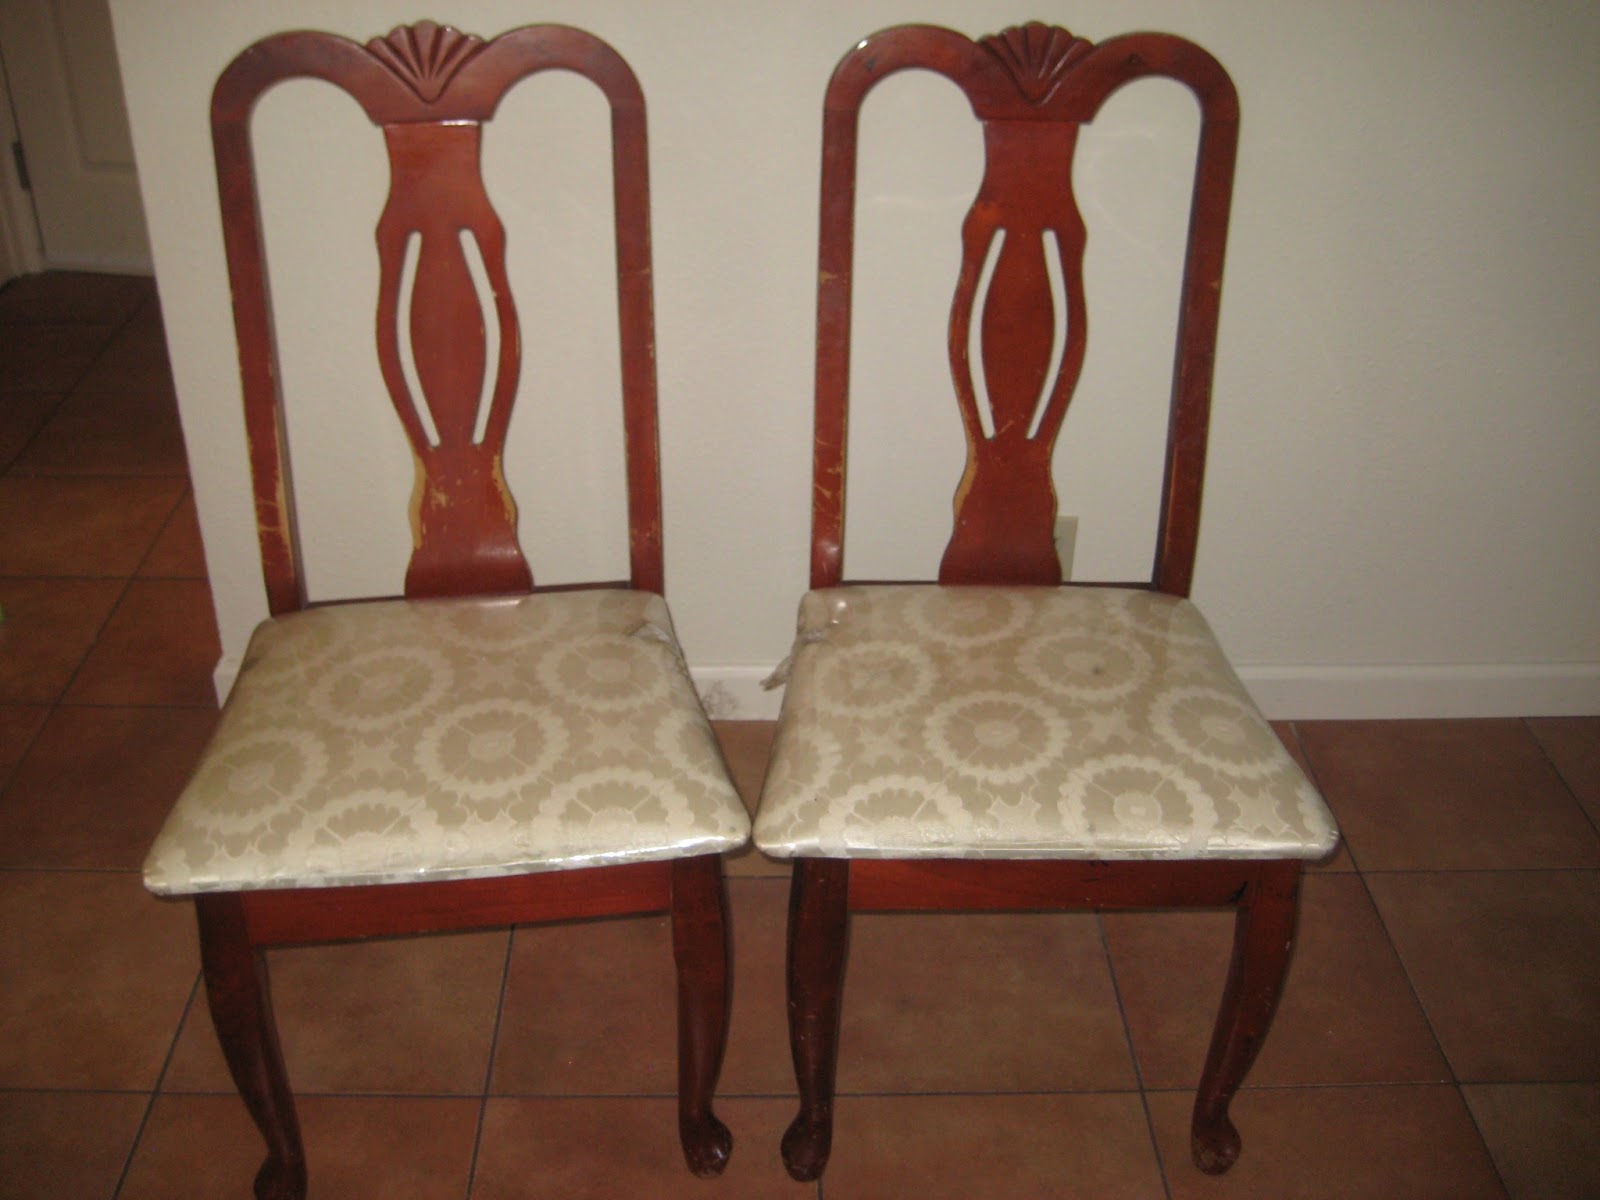
A while back my mom spotted these two chairs that had been abandoned in the parking lot of my sister's apartment complex. In that corner of the lot, there is a "No Dumping" sign, so of course everyone dumps their old furniture there.


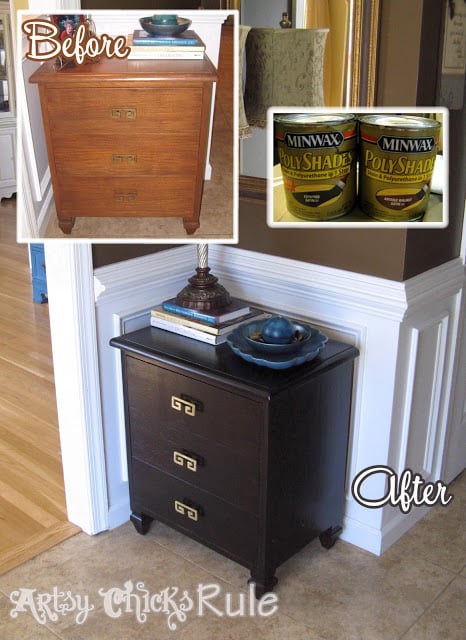
They weren't the most stylish chairs to begin with, plus the seat cushions were fairly beaten up and there were several places where the finish had worn off. So my mom and I pulled off the seats and got to work staining them. We didn't have enough time to do gel stain like I used on the bathroom vanity and the bed, so after seeing this tutorial I decided to try out Minwax Polyshades. This lady uses this stuff on everything, with good results.


Like the General Finishes gel stain, Polyshades only requires minimal sanding, but unlike the gel stain it doesn't require a separate topcoat, so it really is convenient if you have a quick project. I have to say that I like the results of the gel stain a lot better--it is so much easier to apply (wipes on with a sock), while Polyshades is brushed on, and it is thin so it is very drippy if you're not really careful (particulalry on the details of these chairs). It also wouldn't dry in my mom's garage for over a day when it was kind of foggy out, so we had to put a space heater in there to get them to dry. Overall, I would recommend this product if you don't have time to do a gel stain + gel topcoat (which totals nearly 2 weeks of dry time in between coats), or if you are only going to do one piece of furniture and don't want to buy two different products.

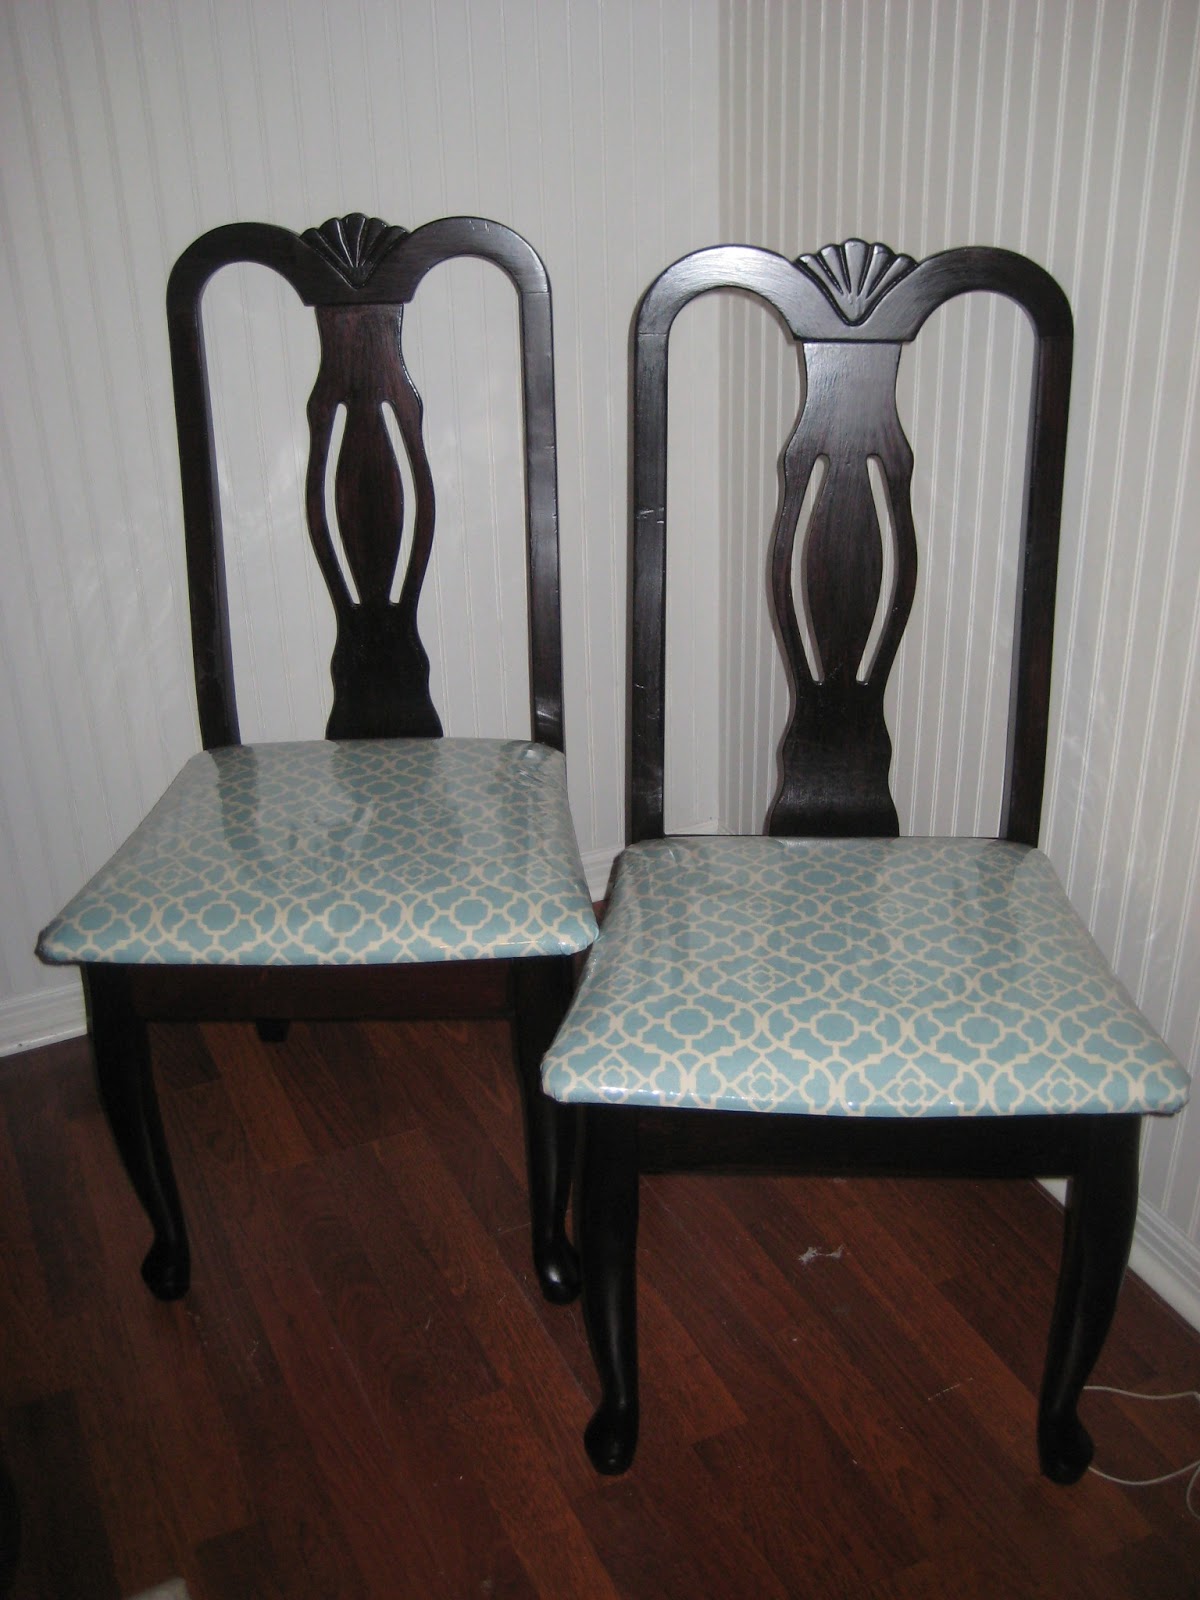
I re-covered the chair seats with the same fabric I used for my entryway bench, and clear vinyl over that to make them easy to clean. I didn't take pictures of the process, but there are plenty of tutorials on Pinterest. It basically boils down to pulling the fabric over the seat and using a staple gun to secure it on the back.

Here they are all finished! Hopefully our renters will appreciate how much better they look.


And wanna see something kind of eerie? My mom recently saw this post on Pinterest. At first glance we both thought someone had gotten a hold of a picture of my chairs. 


I suppose great minds think alike!

Saturday, June 15, 2013

Meg vs. the Bed: Refinishing done!


Three coats of finish and two layers of topcoat later, here she is. It is nice to have one project checked off. Now I just need to get the room done so I can put the bed together and see the whole thing! Also, you can see the back of the wardrobe I picked up today (a Craigslist purchase) with a great deal of help from my siblings--my sister babysat and my brother did the heavy lifting (and was mostly my bodyguard going to a strange house in Oakland. Turned out it was a small-ish middle-eastern lady, but you never know). The wardrobe will go in that room as well, and my mom is staining my old desk and bookshelf to match all of this so it will all go together. Now I just need to hunt down one more wardrobe for the second bedroom and all the furniture will be ready!

Thursday, June 6, 2013

Meg vs. Renters: Staining a new bed.

We found renters! I have been so consumed in finding a place/finding renters/creating leases/getting the house ready that I haven't taken time to post my goings-on, but I will try to catch up a bit, since I really have been chipping away at the projects.

Anyhow, we are going to be renting the house out to three students. We realized that to compete with the rest of the housing market for local students, we need to leave the house furnished. So I have been on a Freecycle kick finding the additional things we will need to turn our little boy/baby rooms into grad student rooms. And once we move, I will be on a new Freecycle kick trying to replace everything we left behind.

I got a full-size bed for the front bedroom that has storage in the headboard and underneath, which is perfect because then I don't have to buy a separate dresser! It was a light honey maple color and pretty worn, but I was planning on leaving it as-is because, well, I didn't really have time or space to do anything about it. Then John reminded me how much better it could look if I stained it the same color as the bathroom vanity, and said that if we put that old bed in the room after re-doing all of the walls and making it look nice, it would "automatically date it ten years." So...I ordered a bigger can of stain from Amazon. Last night I put on the first coat:


And tonight the second coat:


It really does look so much better, and I think it will be a really beautiful piece of furniture, so I'm glad John talked some sense into me, even if it means I won't sleep for a few nights...

I used General Finishes Java Gel Stain (disclaimer: that is an affiliate link), and am following this tutorial from Monica Wants It, just like I did for the bathroom vanity. I love this stuff! Only a very light sanding required before you get to slap that stuff on. Just the way I like a project! Now I just need to get the room done so I can put the bed inside! It is still looking pretty scary in there, and I have less than 3 weeks to moving day. Wish me luck!


Friday, March 1, 2013

Meg vs. The Bathroom: First coat of gel stain, done!

I finally bit the bullet and slapped a coat of gel stain on that stinkin' vanity. I put the baby in his doorway bouncer, and asked Big Brother to entertain him. Baby screamed for the last five minutes. I guess it was worth it... I am excited about how it will look with two more coats!

Here is a before picture of the side of the vanity. Either the finish bubbled, or the rats in the garage had their way with it... either way, boo! I was afraid we would have to fork out for a replacement.


Here it is after the first coat. It looks worse in the picture than in real life because of the flash, but I think after the rest of the coats it won't be so noticeable.


And this natural light picture gives a better idea of the color it should be when it is all done.


Here's the color palette for the bathroom. Yay! We really are so close to being done, if I could just get my act together!

I am planning on a second coat tomorrow, a third on Monday, and then topcoat at the end of next week, and that should do the trick! More pictures to come. I am generally following this tutorial on staining cabinets with General Finishes Gel Stain.

Wednesday, June 20, 2012

Meg vs. The Nursery Dresser: Back to priming.

Wednesday: Prep the nursery dresser's changing table attachment for painting.

I forgot that I had already applied liquid sandpaper to the parts, so all I needed to do was prime today. They are done except for the part touching the floor, which I'll have to roll over quickly tomorrow. I'm just glad I actually did something I intended to do this week!


 Also, I still need to get the garage junk under control. It's like a catch-22; I can't clean the garage with the furniture and stuff in there that needs addressing, but I can't address them while the garage isn't clean. Sigh. John suggested I just take the kids to my mom's for a week or more while he and a friend tackle the big house projects. Maybe I'll have to take him up on that. First I have to get him to go to the doctor so he can stop being sick and I can put him back to work!  =)

Thursday, May 24, 2012

Meg vs. The Bedrooms: Free Furniture!

Thursday: Pick up new furniture from our friend? Start packing for our vacation.


Check. Now to paint it and get it all in place (or at least get it out of the way until that is possible).

Wednesday, May 23, 2012

Meg vs. The Nursery: Painted dresser.


My apologies for dropping off the planet for a few days. There was really no reason for it, except I was in survival mode while John took his last exams of the year, and I also made the mistake of starting to read Anna Karenina. But I did my jobs! Here is the dresser after the first coat of paint (I forgot to take pictures after I primed).


I thought the brush lines would bother me a lot, but I actually kind of like the look. Here it is after the second coat. I may still put on a third before I finish it off. And of course tonight my husband is bringing home another whole furniture set that needs painting. Oh, the fun!


Monday: Prime the dresser! Do a quick sanding.

Tuesday: Paint the first coat on the dresser!

Wednesday: Paint the second coat on the dresser.

Tuesday, May 15, 2012

Meg vs. The Nursery Dresser: Liquid Sandpaper

Tuesday: Finish cleaning and coating baby dresser with liquid sandpaper.

As it turns out, the cleaning was significantly more difficult than the liquid sandpaper. That was due to the horrid tape that the previous owners used to hold the drawers shut when moving it. There was still a lot of residue left even though I had worked on it for a significant amount of time last week.


This is what I broke out to attack the goo one last time:


The dryer helped to soften up the adhesive, and I suppose it's obvious how the blade helped... It didn't end up perfect, but it was significantly better when I was done.


Next it was time for my Liquid Sander Deglosser! My other tools were: (1) rubber gloves, and (2) a holey sock.


It is so, so easy, and I have read good reviews on it. It took me about 5 minutes to coat the whole dresser and all of the drawers. In the photo you can just barely see that there is a little bit of a film left on the wood. It should be just enough to help my bonding primer to stick. More to come next week once I stock up on supplies!


Saturday, May 12, 2012

Meg vs. Miscellany: Three days' catch-up.

Three days with no post! Things got crazy Thursday (I was only home for about an hour between 8am and 9pm), and I am still trying to get back on track. But I haven't forgotten my goals (even if I've neglected cooking and doing the dishes...)!

Thursday: Clean up the garage (again). Take a look at hardware on the dresser.

I wouldn't say the garage is clean, but you can actually walk from one end to the other again. Cleaning mostly consisted of breaking down tons of cardboard boxes leftover from project purchases and filling up the recycling bin.

I also fixed the hardware on the dresser for the nursery! It ended up being a 5-minute job that involved pounding the rails back into place with a hammer. Things like that make me feel silly for having put them off.

And added bonus: I found the electrical tape and finished our patch job on the chandelier wiring!

Friday: Apply waterproofer to the rocking bench.

I technically did this, in that I did a little more touching up on the bench, read the can of waterproofer, realized that my stain already has waterproofer in it, and then put everything away. Ha! The can says to check and potentially re-apply once a year, so we'll worry about it again next May.

Saturday: Pick up paint chips for the dresser. Start sanding/coat with liquid sandpaper. 

We found out Thursday that we are having another little boy, so the paint chips for the nursery dresser are the same selection I'll be choosing from for the big boys' room, since all of the bedding and accessories match for both. Now I just have to choose and get to work!

Wednesday, May 9, 2012

Meg vs. The Yard: Shopping and another coat on the bench

Wednesday: Pick up plant food, grout cleaner, and another can of stain. Apply second coat of stain to the rocking bench.

The boys helped me do the shopping this morning, and we even managed to pick up more soil for the garden, cat repellant (someone was digging in our garden last night and killed our healthiest pumpkin plant), and paint chips for the dresser for the boys' room (a friend is going to give us a set for free!). Then during nap time I did this:


I guessed on the stain color and it seemed to match pretty well. The bench is still not perfect, but I touched up a lot of spots I had missed in the dark and got most of the back of the bench, which I had left undone due to lack of stain. It's coming along, and I am happy that our porch is not looking so empty.

Saturday, May 5, 2012

Meg vs. The Inside & Out: More rocking bench plus hallway repairs

Thursday: Pick up more stain and a protective coat. Start staining the bench.


I am officially caught up for the week! I used every drop of stain in my tiny little can, and I think I got all of the visible parts. Though I won't be sure until morning (I have to do all these things at night, you know. The day was spent mowing the lawn, gardening, cleaning, and distracting little boys). Here it is!


It isn't the picture of beauty, but it is coming along nicely. I may go pick up another little can to do a second coat, or just call it good and top it off with some weatherproofing finish. (Probably the latter.) And if I get really fancy I'll make cute cushion for it, but that may be pushing our luck a little far, particularly because we still haven't picked exterior paint colors.

Saturday: Pull down peeling joint tape in the hallway and assess how to repair it. Start re-taping if it looks okay. 

This job took all of about five minutes. Here is the problem:


All the joint tape was coming up and the plaster coming down. So I grabbed some of this...


 ...pulled down the old tape, scraped off the rough plaster edges a bit, and slapped some tape up there. Since it is clear fiberglass mesh, you really can't see it in the picture. But it is there, just waiting to be slathered in joint compound. Alas, that will have to wait until next week.

Monday, April 30, 2012

Meg vs. The Rocking Bench: Sanding, take 1

Monday: Sand the bench.

I did not start the week off with a bang. I had a stomachache, and started sanding the bench with a piece of sandpaper, then realized I desperately needed to make myself a sanding block because it was impossible to keep the paper from crumpling instantly every time I used it. I may even go at it with the orbital sander because I'm lazy like that and it is an old, beat-up, free bench after all. Maybe when I re-attempt it I won't keep having to take 7-up breaks!

Saturday, April 28, 2012

Meg vs. the Porch: Trial run for a rocking bench makeover

Saturday: Take a look at the rocking bench out back. Tighten up bolts if possible, and start sanding if it looks salvageable.

Here is the old rocking bench in question. I originally thought it was too wobbly to keep around, but I saw a new one at the hardware store, and it was of a comparable wobbliness. So I thought perhaps I should give this fellow a second shot.


I tightened up the bolts, added a missing nut, and sanded the tops of the arm rests and a few of the back slats, then I got impatient to see how it might look once stained (typical me). A while back I picked up this bad-boy from the mistint section at the Home Depot for 50 cents, and I figured this is as good a time as any to try it out, because I thought this bench would look good stained dark on our front porch.


I originally did a tiny section on the back of the arm rest, but then I liked what I saw so I got even more impatient and did a whole slat and the top of the arm.


I like that it is really dark but you still see the grain really well. Yay! So excited to keep on this project. I'll probably have to go get more stain, but I actually think my 50 cents will go pretty far here.


Friday, April 6, 2012

Meg vs. Refinishing: Painting the bench and a little relaxation.


Thursday: Clean out the gutter drain in the front yard. Pull weeds if there is still room in the can.

Friday: Change out the dimmer switch in the master bedroom. Cut up the rest of the branches and put in the shed for fire wood.

Saturday: Start refinishing bench - put on liquid sandpaper, go buy paint and hardware for drawers. 

Clearly it has been an off week. But for good reason! My in-laws are visiting (well, MIL got here yesterday, FIL will be here tomorrow). I didn't know they were coming when I planned my goals last week. So after doing more cleaning on Wednesday than I have done since we have lived here, I thought I could give myself a bit of a pass and take it easy. We've relaxed, gone to the Jelly Belly Factory, walked by the bay, and the hubs and I even went on a date (shopping for house stuff--we are hopeless romantics!). Still, some things have gotten done. The weed goal was easy because the can was already full, ha ha! I won't be too hung up if we don't finish all the goals this week because tomorrow we have awesome plans like going to the temple, eating out, dying Easter eggs, and doing some consulting with my Pops-in-law about future house projects. If I don't write until Sunday, I haven't been kidnapped, I've just been enjoying! And for your enjoyment, here are a couple of pictures from spray painting my bench today:

I decided to scratch my plans of painting the old fashioned was and just spray this bad boy all at once. Sometimes taking a shortcut is better than not doing it at all! Kind of a funny note - we noticed that all of the spray cans had pictures of Ikea furniture that they had spray painted. This can has a picture of our old dining room table painted white, and another can had our metal end table painted pink. I guess Rust-oleum doesn't have a very big budget for their cover art! Ha!

After a quick sanding.

After a whole can of primer (clearly I ran out).

After a whole can of paint.

I'll get another can next week so I can add another coat and finish off the parts I missed (the inside of the drawers, the underside of the tabletop, etc. But for not all the visible parts are somewhat presentable. When it is all dry tomorrow I'll take a picture with the pad back on. I am so excited!