Thursday, August 16, 2012

Meg vs. The Nursery: DIY Crib Bumper to Rail Bumper

Wednesday: Attempt to turn the crib bumper into a rail guard.

Let's just forget about that Tuesday goal. I did as much sanding as I could reach, but the dust, the sauna that is that bathroom, and my belly were not all getting along.

On to today! I actually did it! Since the doctors of the universe have turned anti-bumper, I thought I would repurpose ours to hide the crib scars from our baby beaver protect the next child's mouth and gastrointestinal tract:


As you can tell, my kids have a lot of teeth.

So I started with this lovely fellow.


There were seams at each corner of the crib, so it was easy to figure out where to cut so that I would have a strip long enough for one side.


Before cutting, I picked the piping off of the next section with a seam ripper so that I could fold it down and use it to cover that exposed edge, like so:


Then I sewed down the edge, spread out the ties (I only needed one tie on each side now instead of two), and I was done!


Repeat for the other side, then tie that bad boy on. Ta-da!


P.S. This bumper was actually part of a set, but little brother refuses to sleep on anything that isn't minky soft just like his blankie and so the non-sporty sheet. And I have no clue where the matching crib skirt went; I'll have to find it before I finish this nursery makeover. I am so stinking organized I kill myself sometimes.

P.P.S.S. I also started a headboard project today. It was one disaster after another. Good thing I had this project to post, because until I started writing I was very crabby. In fact, I think John is still afraid to talk to me. I should probably go apologize now. Now if my room never has a headboard, you will know why.

Tuesday, August 14, 2012

Meg vs. The Living Room: Monster junk pile

Monday: Clean the tiling tools that aren't being used. Straighten up the pile of equipment in the living room and put away as much as possible.

While John was working on the bathroom, we moved the bench into the dining room to accommodate the boxes of tile and extra equipment we borrowed. And, of course, over time that pile grew into the monstrosity below. I labeled it for your viewing convenience.

 
Ridiculous. So I set about getting it pared down to what it was meant to be, which meant getting some things ready to return (I left a subtle hint for John by putting that cement board on the front porch...), putting things not related to the bathroom out in the garage, and just cleaning in general. Sadly, this did take me all day, though I also did most of my normal daily chores as well.


Much better. Now instead of being a pile of junk haunting me, it is back to being a pile of tiling things haunting my husband. Hee hee.

He is currently swamped with school and not planning on doing much more until after his first block of exams. He kindly suggested that I take the kids to my mom's place for a few days at that point so that he could get the bathroom done for me. I kindly reminded him that I would be 12 days from my due date and there was no way on earth I was driving 4 hours alone with two toddlers. He kindly said he would do his best to get it done here. What a good husband I have!

Monday, August 13, 2012

Meg vs. Housekeeping: Cleaning chart

A few weeks back I found this cleaning checklist on Pinterest:


This came from Kierste over at Brown Paper Packages. I thought it was super cute and a good way to try to keep the mess that is our house under control. The creator offered it up for download, so I copied it and then put in my own cleaning tasks. I threw it in a document frame so I could check things off with a transparency marker (harder for the boys to wipe off), which works pretty well as long as I can keep the littles from getting that coveted marker in their hands.


I think it's going well, don't you?

It will be a miracle when I actually get everything done on this list on time, but it is motivating me to try.

p.s. If a 20-month-old gets this marker all over his hands then rubs it all over his face, it wipes off pretty easily with a baby wipe, since it is water soluble. Maybe I am the only one that needs this tip.

Sunday, August 12, 2012

Meg vs. Myself: Weekly goals August 13-18

I'm back! I was debating whether to start doing my weekly goals again now that John is back in school and our bathroom project is on hold, but without it I am not getting things done as I would like, so it can't hurt, right? I have been having lots of braxton hicks contractions lately as well as some lower back pain that can get a little intense, so I am trying to take it easy on myself, and some days I can barely get the bare minimum done, but we'll just see how this goes.

August 13-18
Monday: Clean the tiling tools that aren't being used. Straighten up the pile of equipment in the living room and put away as much as possible.

Tuesday: Sand and touch up patch job in the front bathroom. Spray on texture.

Wednesday: Attempt to turn the crib bumper into a rail guard.

Thursday: Dust off and paint another coat on the changing table attachment.

Friday: Buy fabric and start bunting for nursery wall.

Saturday: Clean and sand kids' doors for painting.

Let's do this!

Thursday, August 9, 2012

Meg vs. Productivity: Deep thoughts about Pinterest.

Before Pinterest, I had no ideas so I couldn't figure out what to do. Therefore nothing got done.

With Pinterest, I have too many ideas and I can't figure out what to do. Therefore nothing gets done.

I am starting to think it is me.


Wednesday, August 8, 2012

Meg vs. Maternity Wardrobe: Easy skirt updates

In the interest of getting started on my 30 by 30 list, I tackled a couple of maternity skirts that I rarely wore because I didn't like the fit. I knew they were easy fixes if I just took a little time with the sewing machine, but of course I put it off until 2 months before baby is due! Regardless, it is nice to have a little change in my limited maternity wardrobe, and if I can do this, anyone can.

Makeover #1:


(Note the appearance of toys on my bed in the after shots. It was futile trying to keep them out.) This was technically not a maternity skirt, but when I bought it I needed something quick, it had an elastic waistband, and it was on clearance for about $4 at Target; the perfect storm for buying something I didn't really like and that was really the wrong size. Since the waist fit comfortably, I just decided how far in I wanted the bottom of the skirt taken in, pinned it and made sure that I was taking in the same amount on both sides, and sewed a straight line from the waist to the hem. I also took the opportunity to lengthen the skirt a smidge by letting down the original hem as much as possible--a little over an inch. Serious improvement, right? No more saggy, baggy, shapeless blob skirt here.

Makeover #2:


This skirt fit fine, but I was just tired of the shape, and felt like it made me look wider (again, one big, bumpy blob). Plus I had seen lots of maternity pencil skirts and was on the verge of coveting one. This skirt is essentially constructed of a series of triangles, so all I had to do was take in each seam to make the bottom narrower, like this:


Now to tackle the rest of my clothes pile!

Sunday, August 5, 2012

Meg vs. Strawberries: What to do with a whole flat!

I couldn't resist a $12 flat of strawberries at our local fresh market, even though we still had strawberries in our freezer from the last time I couldn't resist. They are so delicious! As soon as we got home with them, my boys polished off the first basket in a matter of minutes. After that I had to ration their consumption since they are still in diapers, if you know what I mean. (If you don't know what I mean, be glad.)

When it was clear that we weren't going to eat them all plain, I got to brainstorming on how to use them all and waste none. First I tossed a batch of jam in my breadmaker (when I first saw that it had a jam function, I laughed, but as it turns out, it is awesome). Here is the best picture I could get of the jam being made with no work on my part:

I love that it has only four ingredients: crushed strawberries, lemon juice, a small amount of sugar, and pectin. It is heavenly on toast and pretty good in a pb&j, too. So much more strawberry flavor than the store-bought variety, since there is no corn syrup drowning out that strawberry tartness. Since I'm not yet domesticated enough to can jam, I gave half to my sister and kept half in our fridge for use in the next couple of weeks.

Little brother approved.


Next, I tried to replicate this fabulous find from Pinterest:

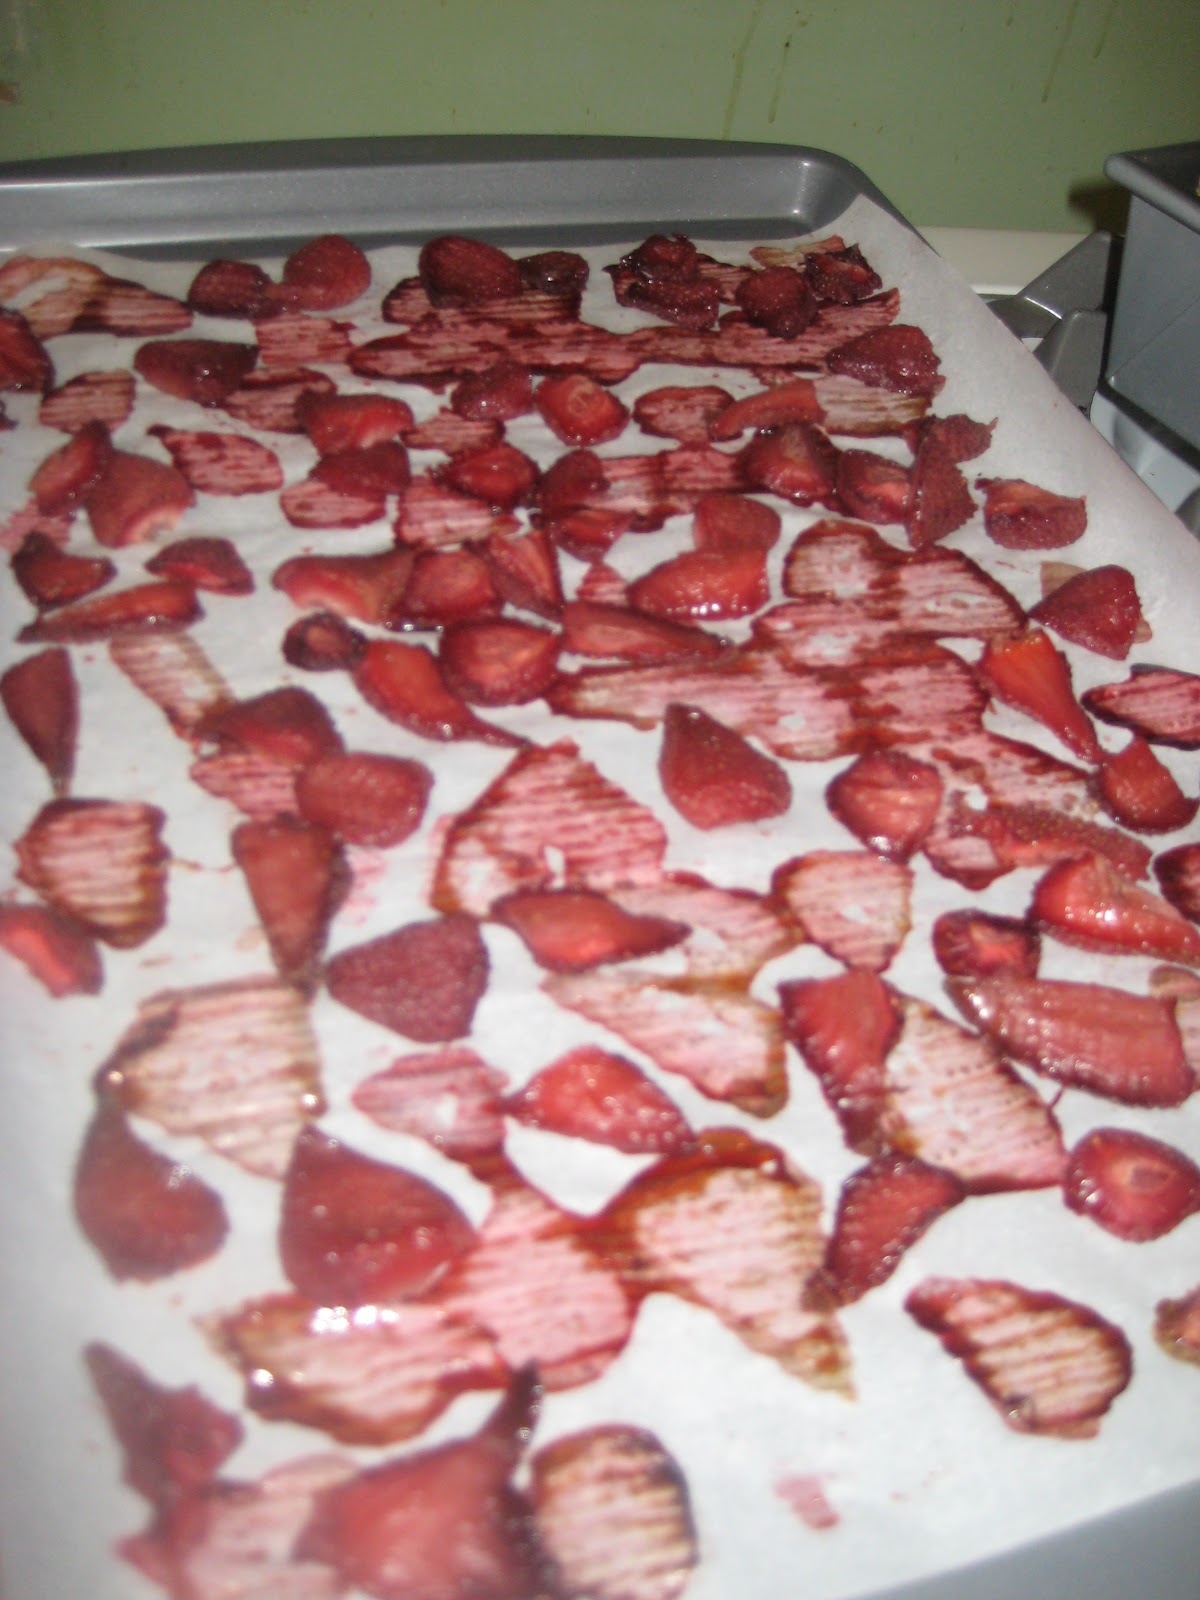
Oven-dried strawberries anyone? They seemed like an awesome snack, so I ventured a try.

Before drying:

And after:

I left them in about 45 extra minutes and they were still a soggy mess. Not anything I would want to snack on. Fail! I think any future attempts will require a legitimate dehydrator, and I will forget about this keep-my-oven-going-for-four-hours-during-the-summer business. (P.S. Mom, can I borrow your dehydrator?)

In the interest of avoiding wastefulness, I tossed these in a baggie in the fridge and may try to chop them up and toss them in muffins or something. If they don't gross me out too much when I pull them out again.

My last project was by far the easiest and quickest: popsicles! The boys love them, and the store-bought ones have a surprising amount of junk in them. Here's my recipe: 1 to 1 1/2 cups sliced strawberries, 1 ripe banana, 1 ripe pear (cored). Blend, freeze, and enjoy!


The sweetness of the pear and banana balance out the tart strawberries. Pure, guilt-free, fruity goodness.


Only one warning: you or your loved ones may require a bath following consumption.


The remaining strawberries were either eaten or frozen for smoothies, and I am happy to say that not a single one went to waste! I wonder how much the strawberries will be this week...?   =)