
- Take down the shelves with the ugly brackets.
- Scrub the molding, trim, baseboards, and wainscoting.
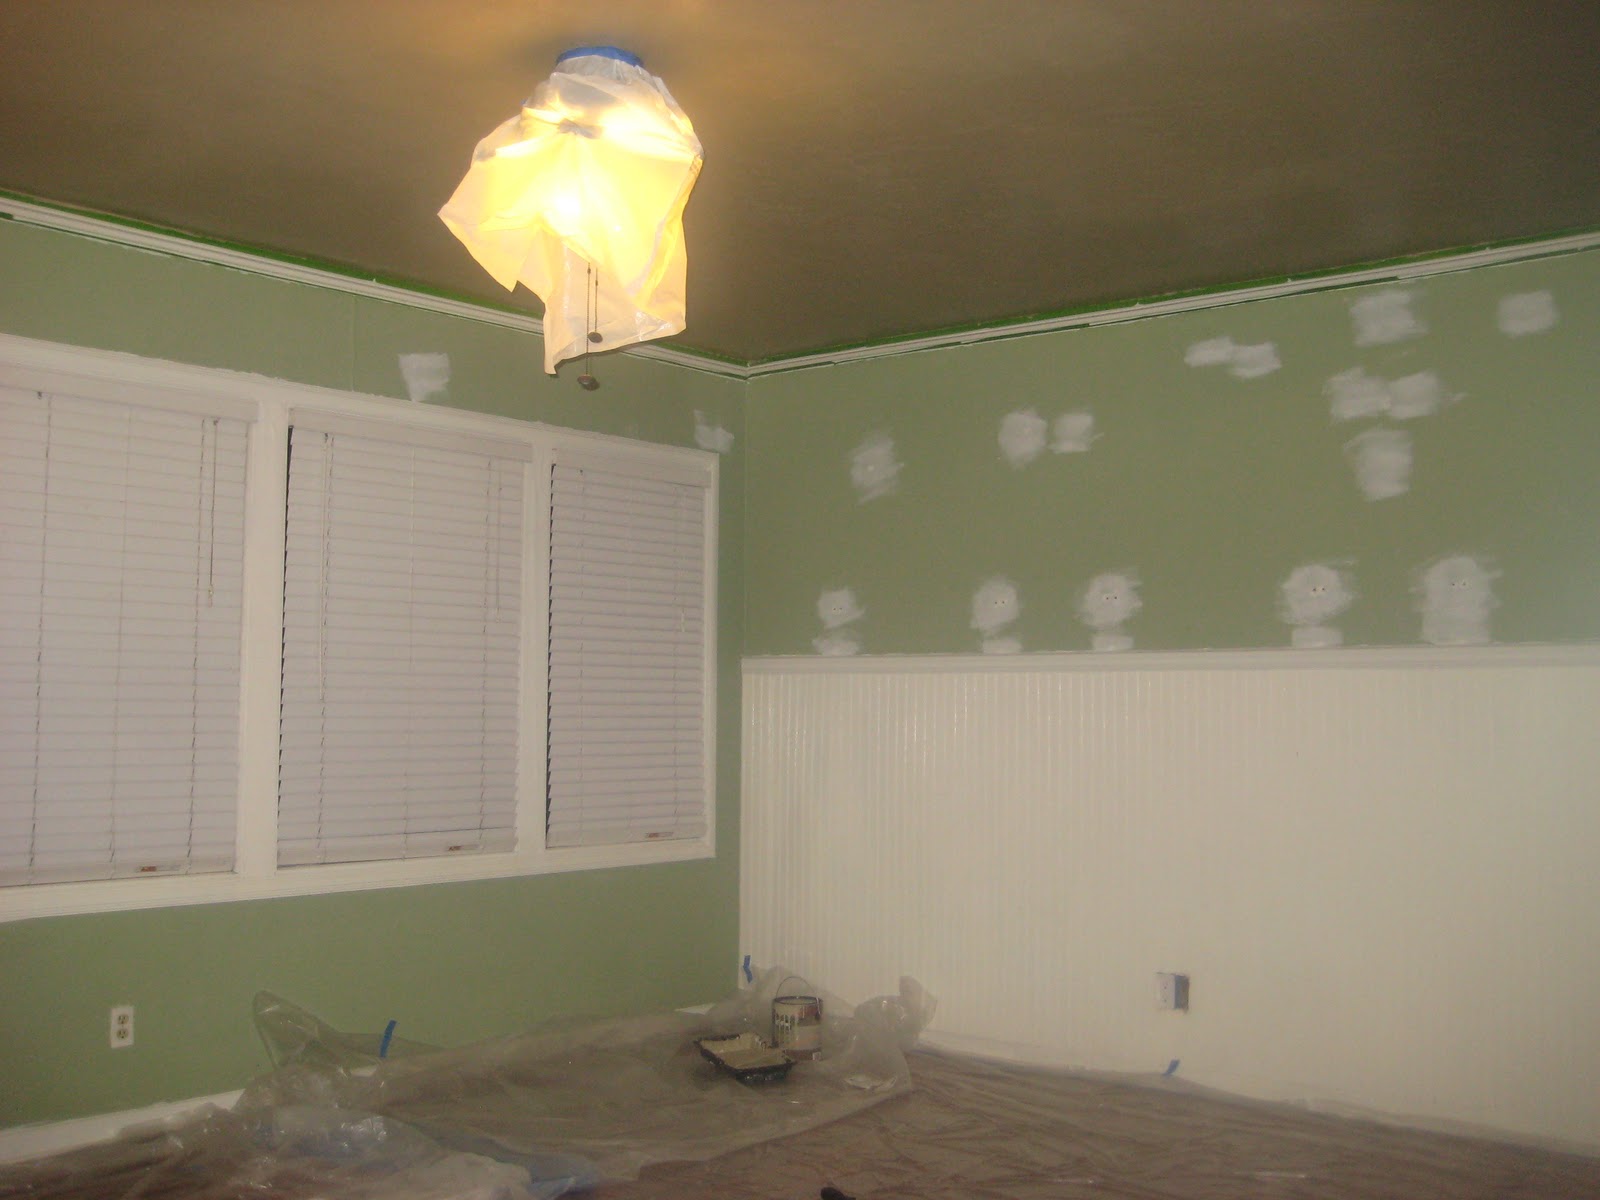
- Patch the multitude of holes all over the walls, the molding, and the trim.
- Sand the molding, trim, baseboards, and wainscoting.
- Tape around the baseboards.
- Paint the molding, trim, and baseboards. Let dry.
- Tape around the molding.
- Take the blades off the ceiling fan, then tape a cover over it.
- Move out all the furniture.
- Tarp over the floor.
John helped me tonight since I knew I would need help with the ceiling, and I wanted to be sure to get that done before our furniture came (though it should have been here weeks ago, and still no sign of it, so we may have plenty of time left!). Here's tonight's handiwork:
Now I can take the walls one at a time. I am kind of missing the green already even though it's still on all of the walls in the majority of the house. But it was time to move on.
And I'll end with a quick tip. If you dislike washing paint brushes and pads and rollers as much as I do, you'll like this tip: Don't wash them.

If you're going to use them again soon (within a day or so), stick them in a plastic bag. They'll be fine tomorrow. If it is going to be a few days or more between uses, stick them in the freezer, then defrost an hour or two before using again. We've been doing it for years in my family (a whole legacy of short-cutting!) and it has worked fine for our amateur efforts.
Happy painting!
No comments:
Post a Comment